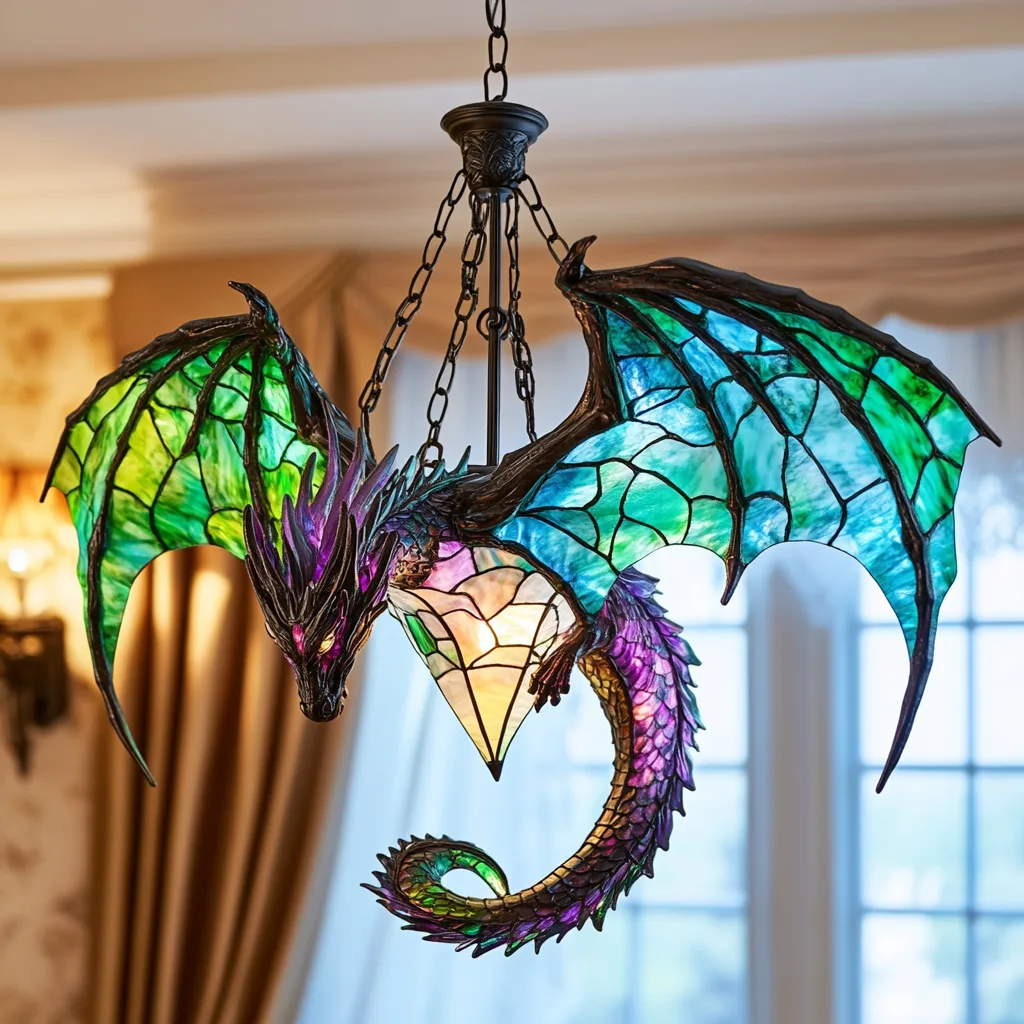
There’s something inherently magical about dragons. These mythical creatures, celebrated in folklore, literature, and pop culture, embody strength, wisdom, and mystery. For craft enthusiasts, bringing a dragon to life through crochet is an enchanting journey that merges imagination with artistry. Whether you’re a seasoned crocheter or just dipping your toes into the world of yarn, creating a crochet dragon is a rewarding experience that lets you weave your personal touch into a timeless mythical figure.
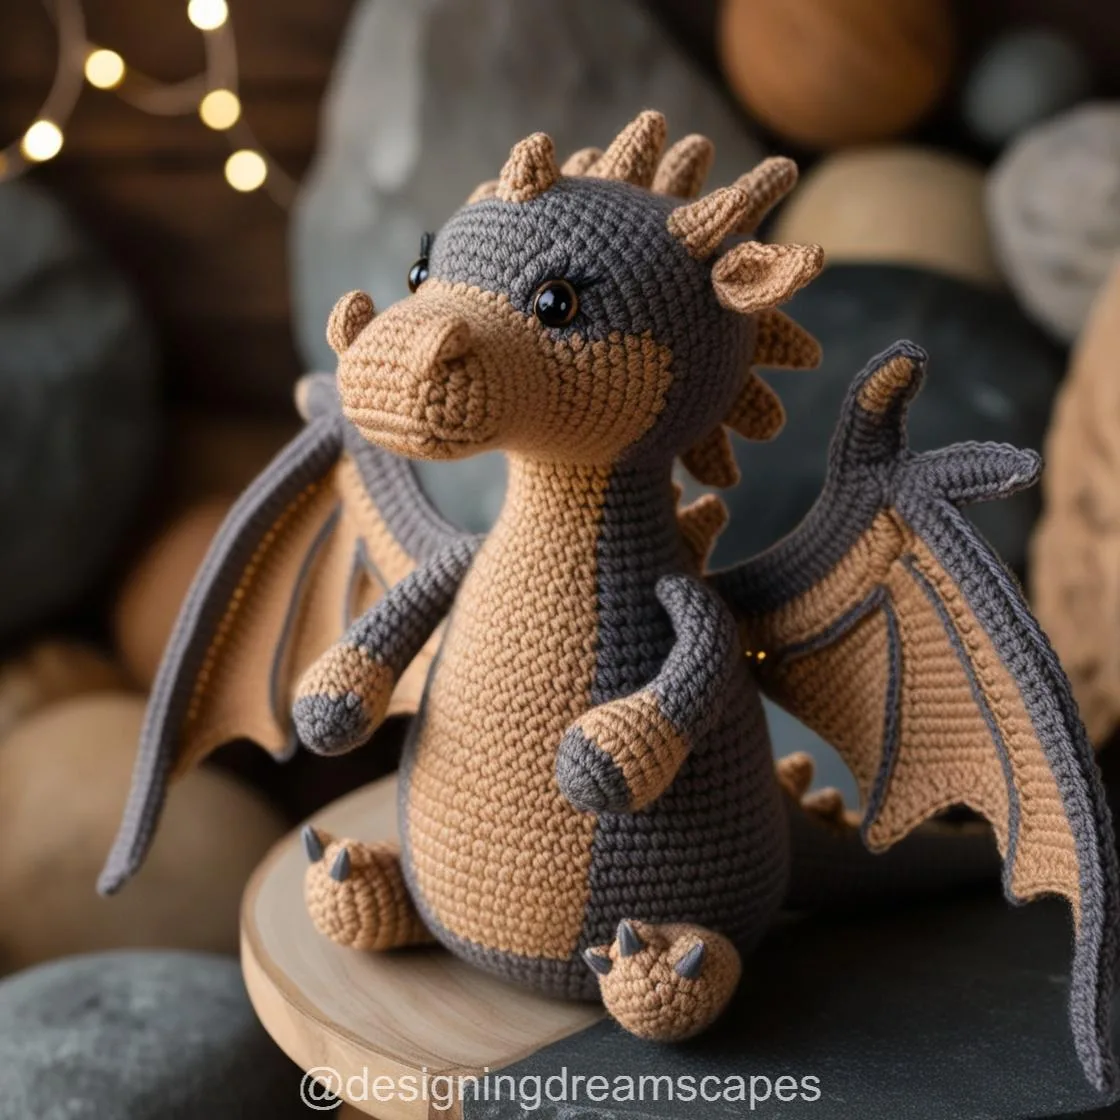
In this ultimate guide, we’ll walk you through everything you need to know to create your own crochet dragon. From choosing the right materials to mastering advanced techniques, this article will help you craft a magical masterpiece that’s as unique as the dragons of legend.
Contents
The Allure of Crochet Dragons
Why Crochet a Dragon?
A crochet dragon is more than just a craft project—it’s an opportunity to express your creativity while embracing the fantastical. Dragons symbolize power, protection, and mystery, making them a perfect subject for a craft that’s as intricate and enduring as they are. A crochet dragon can serve as a whimsical gift, a treasured keepsake, or even a striking décor piece that adds a magical touch to any space.
Exploring Design Possibilities
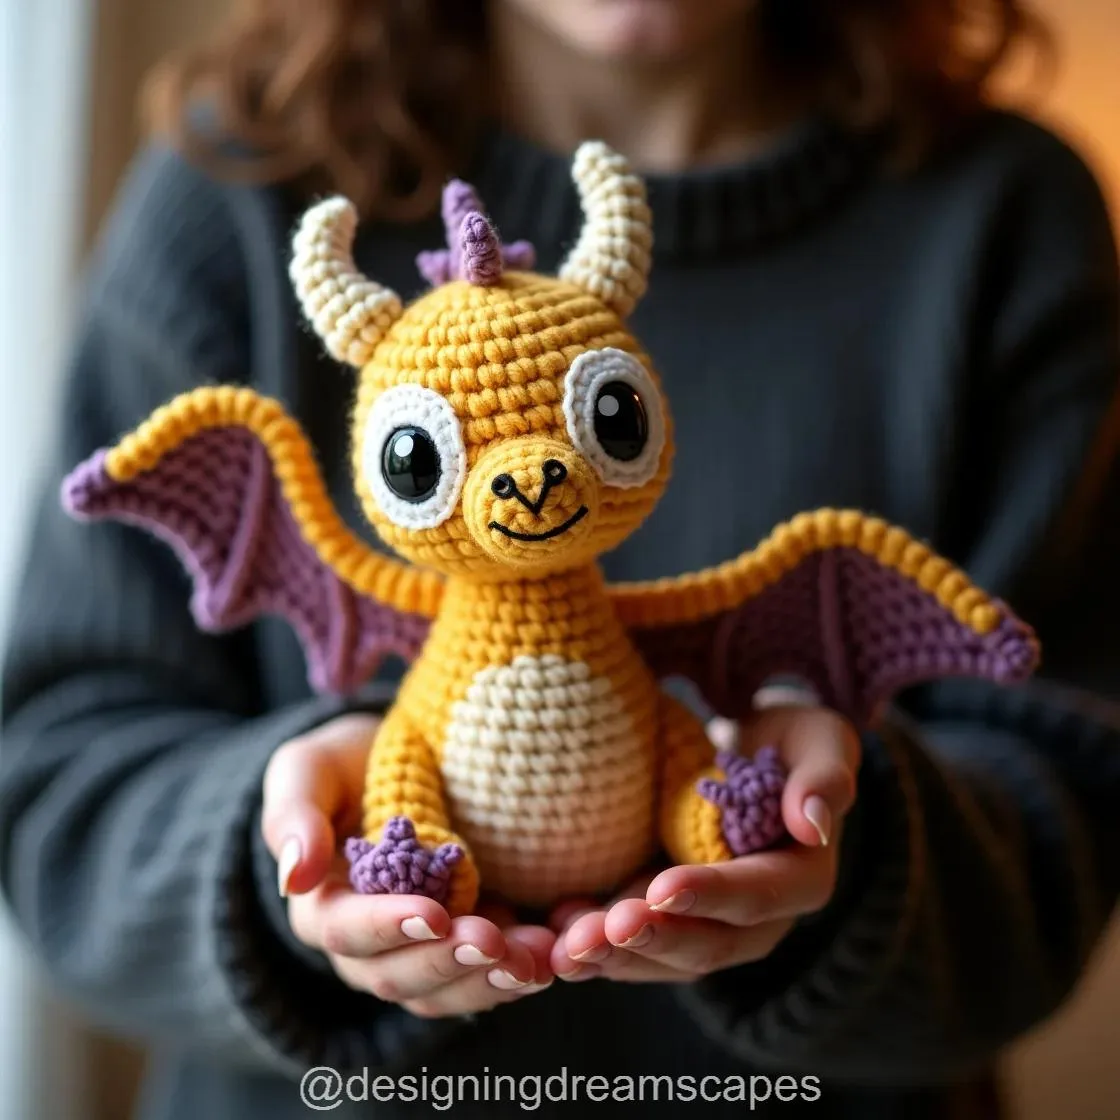
One of the most exciting aspects of crocheting a dragon is the endless variety of designs you can explore. Here are some ideas to spark your imagination:
- Realistic Dragons: Inspired by medieval lore, these dragons feature intricate scales, large wings, and dramatic poses.
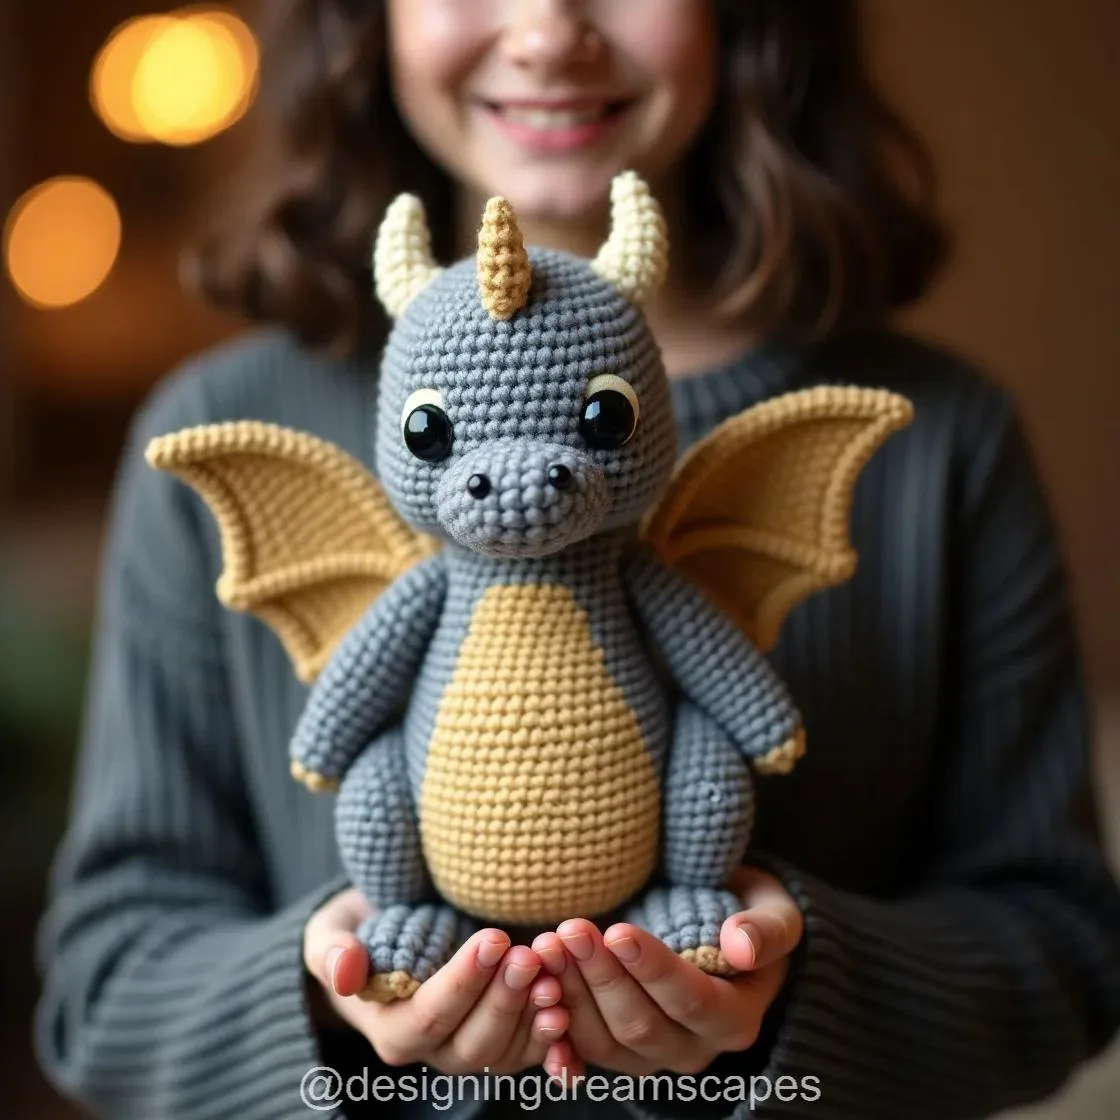
- Cartoon Dragons: Adorable and playful, these designs are perfect for kids and beginners.
- Fantasy Dragons: Let your imagination soar with dragons in vibrant colors, unique patterns, and mythical embellishments.
- Miniature Dragons: Tiny crochet dragons can serve as keychains, ornaments, or pocket-sized companions.
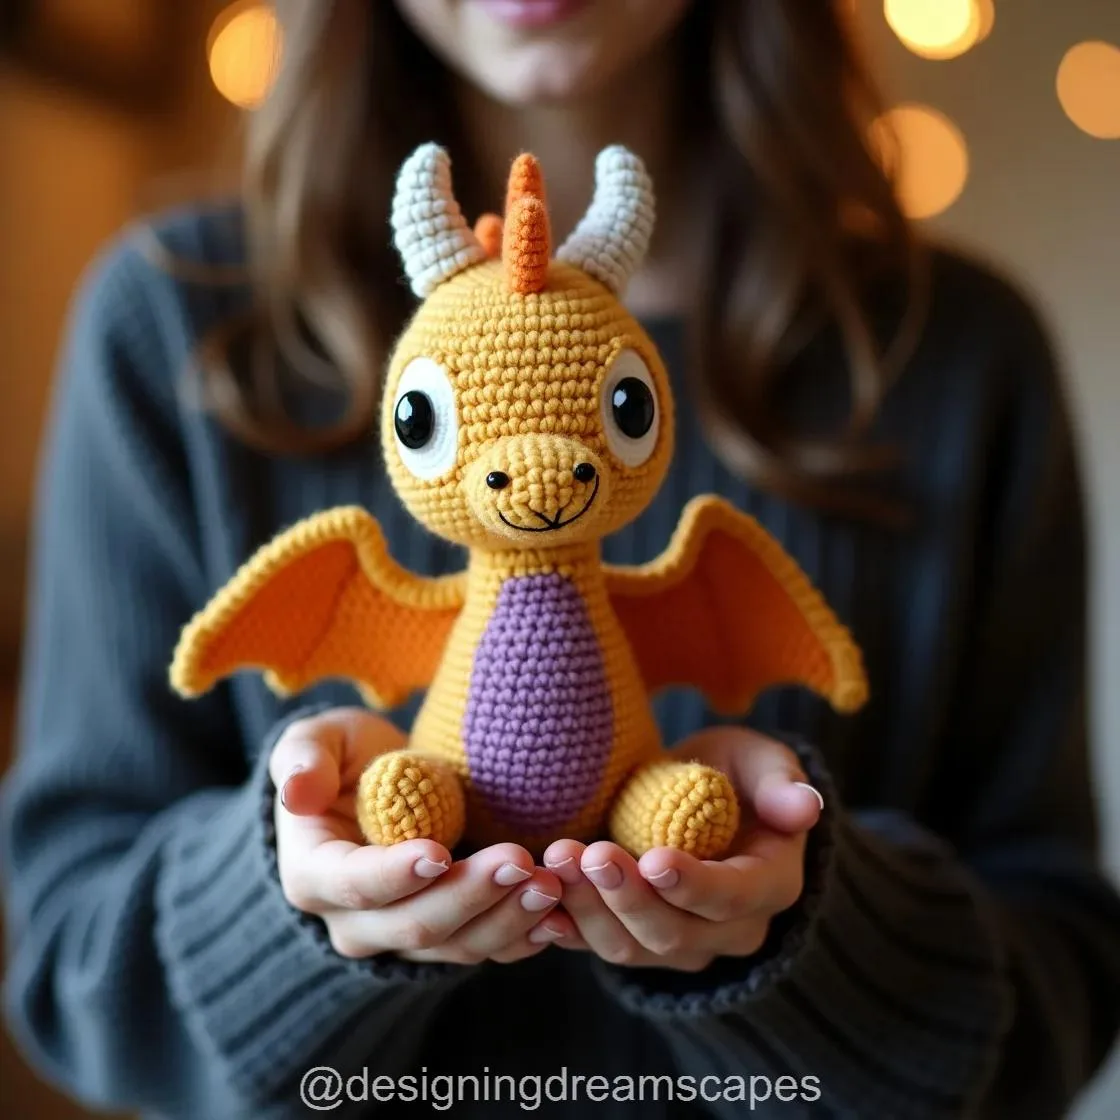
Crafting Your Crochet Dragon
Materials and Tools You’ll Need
To get started, gather the following essentials:
- Yarn:
- Choose a yarn weight suitable for your dragon design. For detailed features, opt for thinner yarn; for larger projects, bulkier yarn works well.
- Colors: Dragons can be any color you imagine. Go traditional with greens and reds, or make your dragon unique with pastels or metallics.
- Crochet Hooks:
- Match your hook size to the yarn weight for optimal results. Smaller hooks create tighter stitches ideal for detailed work.
- Stuffing:
- Use polyester fiberfill to give your dragon a plush, 3D shape.
- Safety Eyes:
- Perfect for adding a lifelike touch to your dragon.
- Tapestry Needle:
- Necessary for sewing pieces together and weaving in ends.
- Stitch Markers:
- Keep track of your rounds in intricate patterns.
Mastering Basic Techniques
Before diving into a dragon pattern, ensure you’re comfortable with these foundational skills:
- Magic Ring:
- A technique for starting crochet projects in the round without leaving a hole at the center.
- Single Crochet (SC):
- The basic stitch used in most amigurumi projects, including dragons.
- Increasing and Decreasing:
- These techniques shape your dragon by adding or reducing stitches.
- Slip Stitch (SL ST):
- Ideal for joining pieces seamlessly.
Step-by-Step Process
- Choose Your Pattern:
- Beginners may prefer simpler patterns with fewer details, while advanced crocheters can tackle intricate designs with scales, wings, and tails.
- Popular sources for patterns include Etsy, Ravelry, and Pinterest.
- Start with the Body:
- Most patterns begin with the dragon’s body, crocheted in the round.
- Pay attention to shaping instructions to achieve the desired proportions.
- Create the Head and Facial Features:
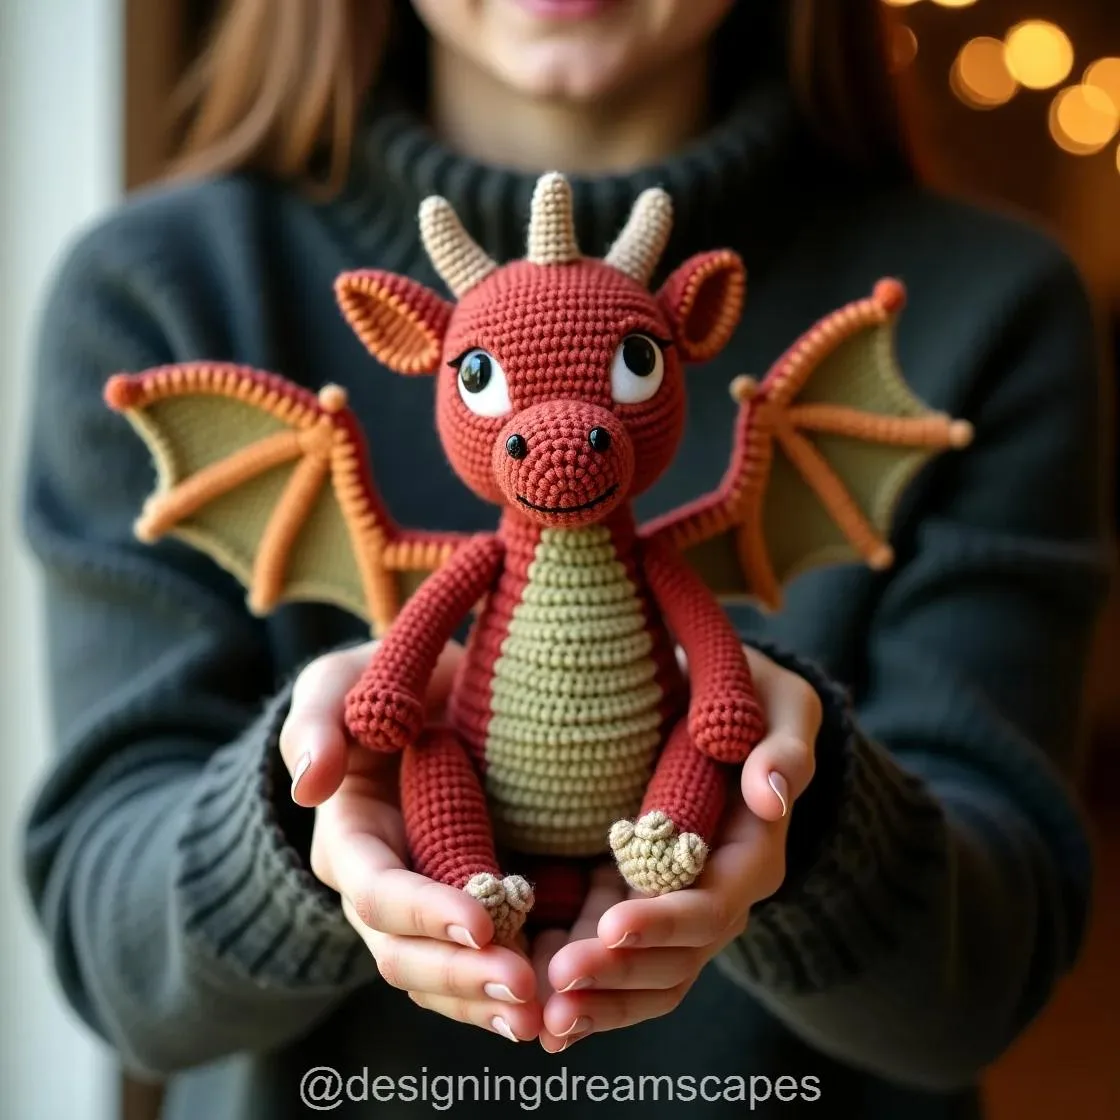
- The head is often the most detailed part of the dragon, featuring snouts, horns, and expressive eyes.
- Embroider details like nostrils or add safety eyes for a polished look.
- Add Wings and Limbs:
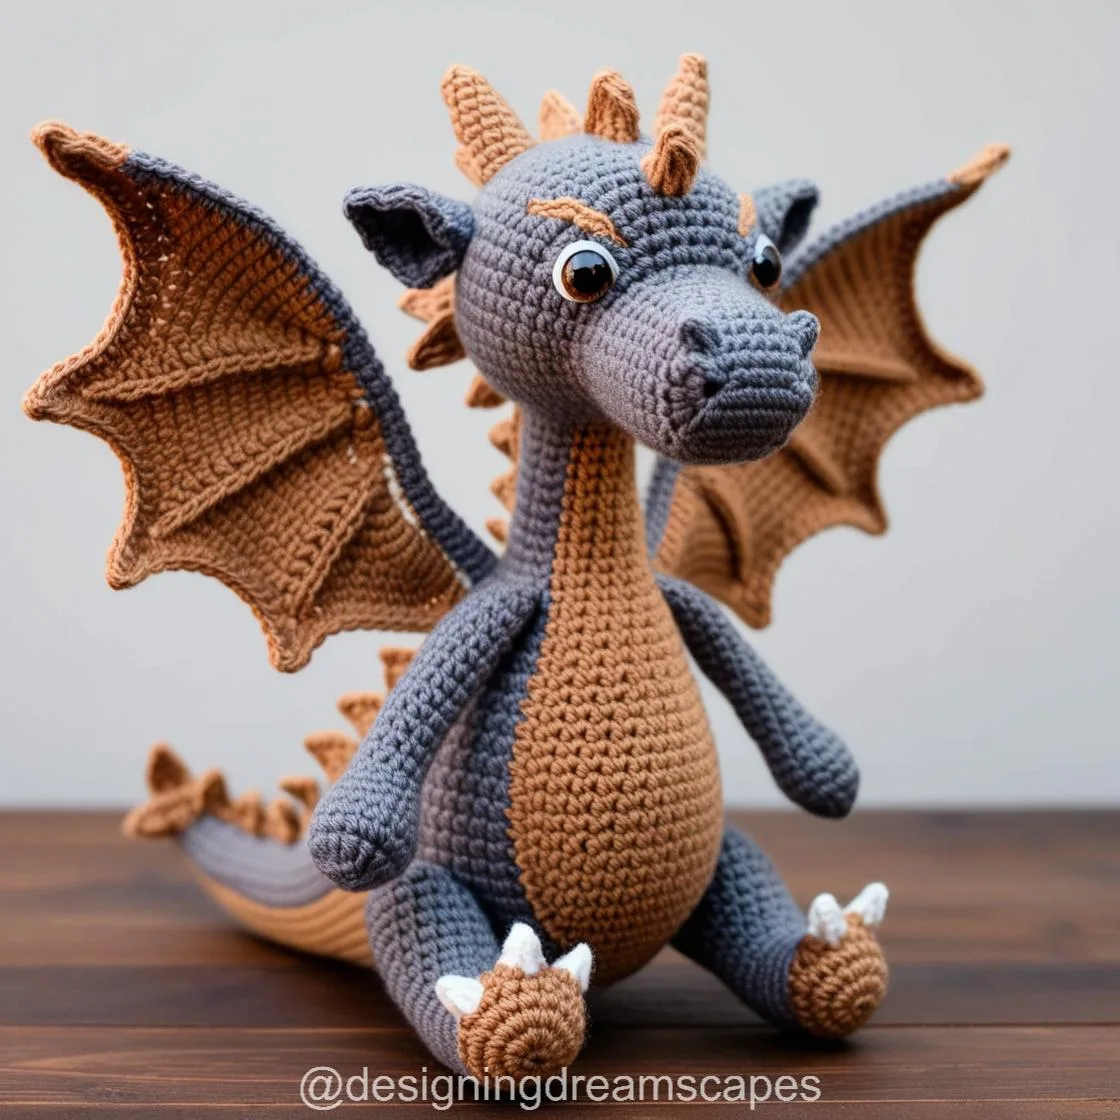
- Wings can be crocheted separately and sewn onto the body. Use wire to make them poseable.
- Legs and arms should match the dragon’s overall style—chunky for a playful dragon, slender for an elegant design.
- Incorporate Scales:
- Use the crocodile stitch for realistic scales. While time-consuming, this stitch adds a stunning texture.
- Assemble and Stuff:
- Sew the parts together carefully, ensuring symmetry.
- Stuff as you go to avoid lumpy sections.
- Add Final Details:
- Embroider embellishments, attach spikes, or use beads to create magical accents.
Taking Your Crochet Dragon to the Next Level
Experimenting with Advanced Techniques
Once you’ve mastered the basics, challenge yourself with these techniques:
- Color Changes:
- Create stripes, gradients, or intricate patterns to make your dragon stand out.
- Poseable Features:
- Add wire to wings or tails for dynamic poses.
- Surface Crochet:
- Add details like veins on wings or decorative patterns.
- Custom Patterns:
- Design your own dragon by experimenting with shapes and stitches.
Displaying Your Crochet Dragon
Show off your masterpiece with pride! Here are some ideas:
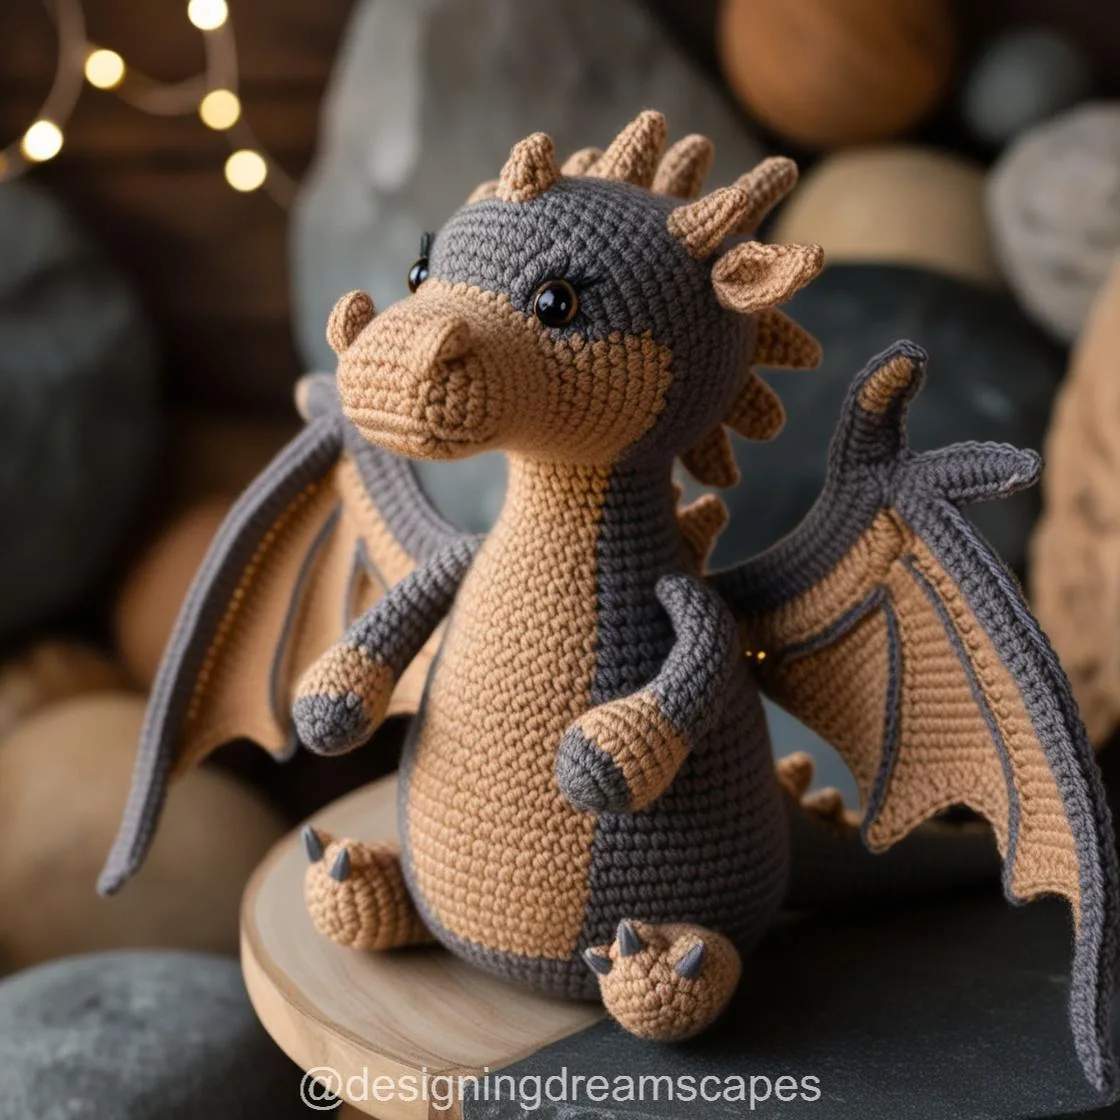
- Décor: Place your dragon on a shelf or use it as a centerpiece.
- Gifts: Delight a loved one with a handmade dragon.
- Photography: Share your creation on social media with themed backdrops.
Joining the Crochet Community
Connecting with other crochet enthusiasts can inspire your craft and help you improve:
- Online Forums: Join platforms like Ravelry or Facebook groups dedicated to amigurumi.
- Local Groups: Attend crochet meetups or workshops in your area.
- Challenges: Participate in online challenges to push your skills and gain recognition.
Conclusion
Crafting a crochet dragon is a journey filled with creativity, learning, and magic. Each stitch brings you closer to transforming a skein of yarn into a creature of legend. Whether you’re creating a fierce guardian or a cuddly companion, your crochet dragon will be a unique testament to your artistry and imagination.
With this ultimate guide, you have the tools and inspiration to embark on your dragon-making adventure. So grab your hooks, choose your yarn, and let the magic begin—your crochet dragon awaits!
